

My Favorite Coloring Pencils
I was an anti-pencils person. It was all about fluid media, like oils, acrylics, watercolors.
I tried watercolor pencils. They are alright, but the tones seemed very faded. And adding water didn’t seem to activate the colors. On the contrary, it just washed them off and then I had a light layer of color with the traces of my own pencil underneath. Maybe I haven’t tried the right brand, I don’t know.
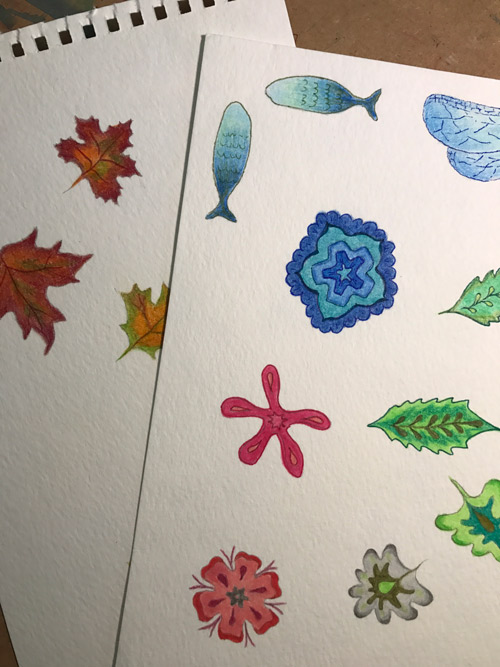
But then came the revelation of Polychromos. Intense colors that do look good on the scans and photographs. Bingo!

For example, I like the Derwent colors because I think the dusty color palette looks actually really nice on dark colored papers, and they are indeed very smooth and easy to apply. But I also wanted some bold colors.

The nice trick about colored pencils is that they can be also blended with a blender. The classic pencil blender is the paper tortillon, but I discovered some nice solvent-based blenders that I enjoy using. I found an Artist’s Loft blender at Michael’s and I think it does a pretty good job. I also like it because I can use it to smooth out the colored surface, so that the pencil traces disappear and the surface looks smooth, with no white spots. I got a few of them, because the tip tends to retain the color in it, and contaminates the next surface, if it is a different tint. So I use one for blue colors, one for reds, etc. The pen has a double tip, one that is larger and softer, and one that is smaller and more rigid. In any case, they are good for small surfaces, especially when I am adding shades in pencil, over a watercolor painting (used on large surfaces, they kind of dry out fast, and they are a little pricy, too, so that can add up).


Last, but not least, I have not yet tried the Caran D’Ache Luminance Colored Pencils, which, according to many reviews, are even softer than Polychromos and with a pretty similar color palette. I will have to give those a try some time, too 🙂
If you want to see some of my artwork in progress, follow my Instagram page:
